If you are shopping for CANADA - please click HERE

Country

  • Australia (AUD $)
  • Japan (JPY ¥)
  • New Zealand (NZD $)
  • Sweden (SEK kr)
  • Switzerland (USD $)
  • United Kingdom (GBP £)
  • United States (USD $)

Dirty Monkey Kustoms USA GearHead Apparel

  • New
  • Mens
    • T Shirts
    • Classic Work Shirts
    • Long Sleeve Shirts
    • Hoodies
    • Hats
  • Womens / Kids
    • Women's Shirts
    • Kids
  • More Stuff
    • Beard Grooming
    • Hats, Beanies, Toques
    • Stickers
    • Drink Coasters
    • Garage Signs
  • CTO Apparel
    • CTO T Shirts
    • CTO Hoodies
    • CTO Hats / Beanies
  • Kulture
  • Photography
  • SALE
  • Graphic / Web Design
0
Login
  • New
  • Mens
    • T Shirts
    • Classic Work Shirts
    • Long Sleeve Shirts
    • Hoodies
    • Hats
  • Womens / Kids
    • Women's Shirts
    • Kids
  • More Stuff
    • Beard Grooming
    • Hats, Beanies, Toques
    • Stickers
    • Drink Coasters
    • Garage Signs
  • CTO Apparel
    • CTO T Shirts
    • CTO Hoodies
    • CTO Hats / Beanies
  • Kulture
  • Photography
  • SALE
  • Graphic / Web Design

Country

  • Australia (AUD $)
  • Japan (JPY ¥)
  • New Zealand (NZD $)
  • Sweden (SEK kr)
  • Switzerland (USD $)
  • United Kingdom (GBP £)
  • United States (USD $)

Rodder's Rides

"So, I have this idea.... "

March 31, 2017

Mike, a car guy like any other, has his long list of favorites cars, and is fortunate to have a couple of his own cool rides to play with. But, never one to sit still, the project bug bit him. Well, really it started long before that, at the movies. But we will get back to that.


I want to build something a little different. Something that can be used for my business, will have big cool factor, be functional, but most importantly “make people smile.... and by that, I mean the kids!“ 


A challenge yes, but Mike’s company is all about the communities they work in and the families in those communities. ”Let's build a truck - a custom truck." Not a lifted half ton. Not a slammed dually. Something with a few more wheels. Like 10. "If we are going to do this, it has to be all in“. Big smiles means a Big Rig! A Peterbilt, and being a car guy it has to look classic. A 379 Pete should do the trick. Now being a movie fan - which one of the coolest movie semi trucks would be immediately recognized by every kid and be one cool rig with killer paint.  Hmmm, what better flamed out truck is there? Optimus from the Transformers! This should do the trick. The kids will go nuts and maybe some day, some of those smiling kids just may grow up, remember our truck and who knows, maybe join the company.

In January of 2015 - the challenging project was initiated. Create a custom working hauler in 6 short months. It needs to be hauling heavy gear in June. Yes, a working rig. No show queen. Heavy industrial sites and back roads compatible. The team is assembled and gets to work.

The first challenge is the truck itself. The classic 379 Peterbilt in the movie is no longer made, so the team custom orders a fresh ‪2016 389‬ Pete off the line. Now this has to be movie perfect, so factory paint and options will not do. While the truck is being assembled in the factory, a top notch painter is brought on board, a graphics guy to draft up the flames, a machinist for the one off hood ornament, and a crack parts team, combing through movie clips and parts books sourcing everything to make the vision happen.


The transformation begins… pun intended.


Once the factory fresh 389 arrives in their shop, the Prince George Peterbilt Team work their magic, pulling apart a shiny brand new truck in order to customize and install all of our specially chosen very long list of custom pieces, transforming it into a unique hauler. Paying strict attention to all the movie details, both big and small, this soon to be dressed out workhorse is well on it’s way to perfection. The short list of mods include: custom front and rear fenders, grill, exterior cab running lighting, headlights, cab lights, safety lights, exhaust, fuel tanks, battery box covers and steps, air intakes, mirrors, custom bumper, headache rack, visor, lowered suspension, wheels, sleeper, and much more.


Readying for it’s first road trip

With most of the new bits ‘n pieces in place, the truck is buttoned up and is made ready for a quick shake down blast down the highway to the custom paint shop for some sprucing up of the boring factory paint.


The fun really begins…

The new Pete finally arrives at Rags To Riches and is promptly attacked by their skilled team. All the new bits that were so painstakingly added are now pulled off. All the shine is stripped away, and the truck is now looking like an angry, wet cat.


The aftermarket front fenders look exactly that - aftermarket and will not do.  Johnny takes on the task with some serious fiberglass skills to make them into something way cooler - bobbing the tails to give them that ol’ skool look and making them flow with the body properly.


Once the body is fully stripped and prepped, Marty gets to work on the flames. Pulling out his fine line tape and years of experience, he curls the tape around the custom graphics drawings with ease, flowing with each curve. Now the hard part - doing the EXACT same to the other side, and the roof too!


Adding the essential striping

“Instead of the standard brush and paint method, let’s add a little more challenge to take it up a notch - let’s airbrush them in” Marty says with a mischievous grin. And not just the tried and true striper's paint, “let’s use a pearl to make it pop!” Marty is show’n the skills with a little lick of pearl here, there and everywhere, outlining the killer flames.


Flashing in a little gold

After all the striping work, the flames are reverse masked to protect the stunning pearl blue from the next stage - the gold. Making the candy paint dance in the light is all about the base colour. Coat after coat of the rich metallic gold is carefully laid on to these huge panels, ensuring it goes down even and consistent.


A little candy coating please…

With all the gold laid in and flashed up, now the finesse begins. The exacting process of building up the many passes of transparent candy colors. This shows the many years of experience behind the paint gun. The even blending of the deep candy red, to orange, to rich yellow/gold in just the right amount of paint and speed requires a master’s touch, and Marty rolls up the sleeves.


One too many passes - the red goes too dark. Uneven pattern, and the paint will show “tiger stripes”. Oh, and lets have the nose of the truck blend through 3 colors… and transition from one to the next, and on all 3 sides to match perfect. “No problem”!


Reveal time

After many, many hours of sanding, painting, masking, more painting, more masking and yet more painting this giant hot rod, the moment arrives. Pulling all the tape and paper away to reveal that all that effort is rewarded. Nailed it! Colors are perfect, blends are amazing and the candy dances and changes hues in the light. A little more dry time and the multiple layers of clear coat can be applied. Once fully cured, the whole truck is sanded once again and buffed out to a perfect shine.


Now time for the rest of the ‘Rags To Riches’ team to step back in and ever so carefully, put all the shiny bits and fenders back on - around FRESH PAINT!


A custom hood ornament


With all that fancy paint, we can’t just settle for the stock hood ornament! From a solid 6” x 6” x 12” block of aircraft grade aluminum and a rough pencil sketch based on a blurry clip from the movie, the truck’s badge is CNC milled to perfection. 4 separate pieces are machined, fitted, hand polished and assembled.


Final touches

With it’s paint polished, the shiny bits back on, and stem to stern detailing complete, the custom hauler is brought out into the sun. The entire team is blown away by the results. The truck is readied for the trip back to Prince George for the final touches, the custom made bumper, custom made headache rack and lighting. Oh, and several stops along the way for a some photo ops for the kids.


Dressed and ready for work

The new Pete made it’s debut at the Pro-Trucker Custom Truck Show, and took home two 2nd place trophies. Next show, it will have some grease on the fifth wheel, some miles on the tires and be gunning for more trophies in the “working” class. After all, this truck is not a show queen - it is a working rig! Pretty good for first time out.


More importantly to Mike, and Dave the hauler operator, is the smiles and wide eyes it brings to the kids and adults alike, as it rolls past on the highways and in the work sites and communities it travels through.


Now, a little less talk’n and let’s get to haul’n.

Continue reading

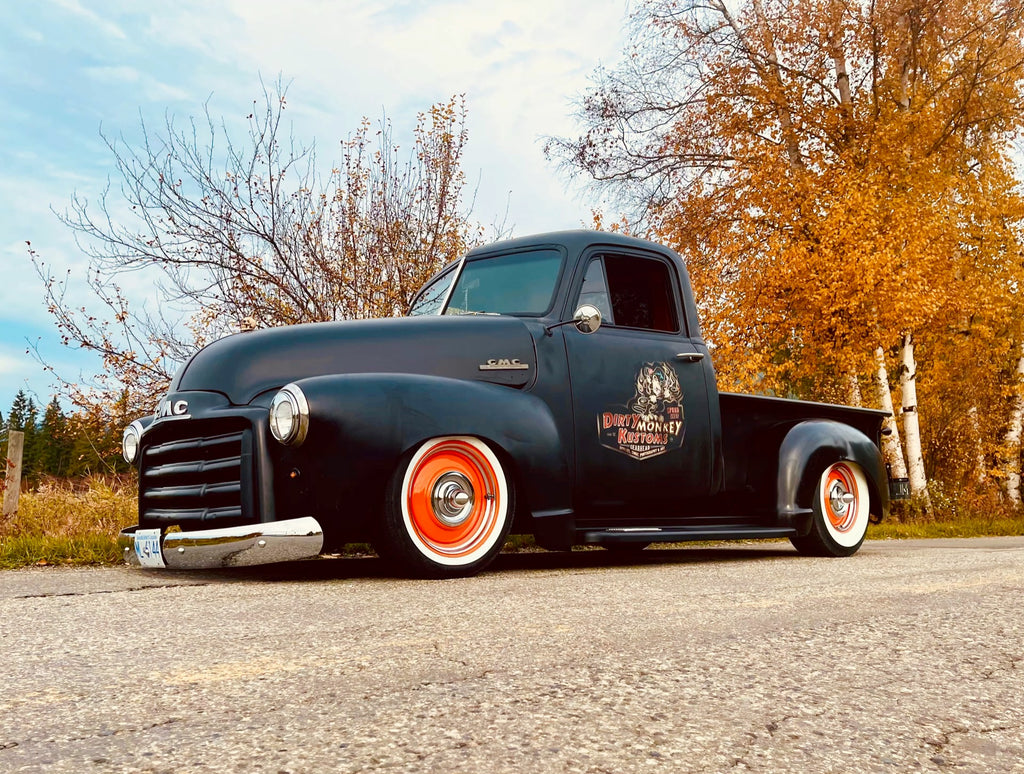
Dave's '46 Chev: "Phat Rod"

March 31, 2017

Dave - Thanks for sending the low down on your build. A real fine ride to say the least. 

As with all of these projects - time, money, vision and dedication are the true test.  Dave's is no exception.  "I worked a regular 8 hr job, then went to my part time job for 5 hrs a nite, and worked week ends at snow removal or landscaping to pay for the build."


1946 Chev 'Phat Rod" truck


"The build started from a '46 chevy p/u and still retains original frame, box and tailgate, cab and hood. It is registered as a '46 because it has over 75% original body parts. Everything works from cowl vent to crank window and heater, original glass and hard ware. It is powered by a 350 vortec with a Pro Comp "thumper" cam, gear drive, headers, Edelbrock intake and carb, Cadillac power steering and power brakes, transverse Model T rear spring with a Ford 9'' rear end and four link suspension. Up front is a straight axle front end on coil over springs.

Ray, the owner of Steel to Steel, was great to work with and had lots of input to the build. Notice the rear wheels are located right at the arc of the old fenders, Ray shortened the box from both ends to get it right. We channeled the cab over the frame so we didn't have to chop the cab and the model "T" front spring trans versed and used in the rear suspension. TCI coil overs in the front ,we used the Welder Series "C" notch to get the rear of the boxed frame low, and we used the OTB head lights because they are cool as hell and you don't have to add some lame light for signals. The heater in our "Phat Rat" came out of a old Chevy truck that was used to build the Alaska highway and up here in Fort St John, and  it comes in handy, as well as the New Port Engineering wipers with cancel and intermittent. Well worth the extra money for that feature, great product.

I bought those beautiful headers from Gear Drive with the end caps and baffles they bolted right up and sound great especially with the Pro Comp Thumper cam, but had to put a few wraps of steel wool on the baffle to tone down the crack or my neighbors would drop a dime on me

It took 3 years to get it built but the result was what I wanted. Ray and I worked together on the design and he had great ideas and often surprised me with cool and function.

There is a ton of custom built and fit everywhere. We built it to drive and are going to Wetaskawin to the Reynolds museum show, and have plans to drive down to the Viva Las Vegas show."

Dave D. 


Continue reading

Oh, those are just extra parts..

March 31, 2017

My 1951 GMC truck - "Project Nemesis"

This project started off like most. A friend started it with grand visions of a dream hot rod. Hours of researching, asking questions and making lists of all the "little mods" that would need to be done. The searching for parts and creative engineering to make them work was the distraction needed from a busy life building his small business - an outlet for the daily grind played out in the garage.  And like most projects - the initial enthusiasm and flurry of activity gave way to the reality of a busy life and his project stalled.  This is where i stepped in. 1998. Seeing the potential of this former Saskatchewan farm hauler turned street menace was a challenge I needed. The bones were there, a Ford 9" swap, a sad little V8 massaged in and some fancy rims... I am in! Cash exchanged and a handshake to seal the deal, I climbed in my new Nemesis and drove  home. Crap - what did I do!


Now my turn for the research, endless magazine hunting, (pre-internet) and happily amassing shiny new tools and tips on customizing whenever and wherever possible. I had the fun of driving this crazy rig for a year to college. In sun, rain and even snow. Zero traction in wet, never mind snow, large holes in the floor that would always let in the rain and snow to soak the shoes. Heat - not even a hint of it. The wipers only worked when you let off the gas and the passenger door had a habit of opening randomly, at speed, in left hand turns. I was always amused. My passengers - not so much. It rattled, leaked and always had a little cloud of rust following it. But, the occasional thumbs up from a passerby was all I needed. Game on!

And so down the rabbit hole we go..  Tools in hand and in the back yard, I started cutting away the rust, learning to weld as i went. Well, not really welding, just kinda sticking metal together and hoping it would stay, and stripping the truck down. A motor, it needed a new motor! The best, most fun part of any build. The junkyard 283 smoker was not going to do - and the transmission - tired and sloppy. Gone. A stout 350 4 bolt main with nice cam, high end internal components and trick heads, was built from my skills learned in High School shop class. Thanks Mr. Moore! A bullet proof TH350 added to the pile and left to be added to the truck later. More Power!


So, the old frame was not looking so great - rusty and thin in spots. Definitely would not take on the new horsepower. OK, lets replace it. Easy right?  A buddy offered to swap in a frame from a donor half ton - "easy" and off it goes for a 14 month "simple swap" back to Saskatchewan. When it finally returns - mismatched tires protruding from the fenders, sitting 6' taller than when it left and not able go over a bump with the steering in any other position than forward - I was a little disappointed to say the least.


Over the next 12 yrs, I stripped it down to cab and frame, and slowly started chopping out the rust. Handy Dremel in hand and with a lifetime supply of cutting disks, I started the surgery. Most of the floor, rocker panels, cowl panels and cab corners were cut out and replaced. All along, not really understanding why the replacement panels never  would quite line up.  Ahh, weld in some cab cross braces - wish I had heard that one earlier. Cut, weld grind, grind grind, and more grind. Slowly it was coming back together. Lots of creative language, creative metal sticking, and little successes turned into big ones and the enthusiasm was kept up. 


Cab finished. Engine goes in, new wiring, exhaust, gears, custom white walls and rims, and a fresh coat of candy orange in the cab - looking awesome. Well now it needs a cool stance. Drop spindles ordered and installed. Wow, looks killer dropped and skinny tires tucked in the fenders. Oh wait, I will need to make turns right??! ARRGGHH, spindles won't work. The front tires can't turn in the front fenders and I think corners are important. Ok - Air Ride - 10 x's the cost and I can turn.  Sold. Notched the rear frame, added the 4 link, new A arms and bags up front - even cooler and lower.  Yup that works.


The next couple years - to my neighbor's dismay, were hours upon hours of grinding, sanding and priming in my very cramped and stuffed to the rafters single garage. a flurry of trips to the powdercoater with loads of parts to be blasted, cleaned and coated (got real tired of hand sanding) kept the pace up. Custom upholstery and headliner were hand made and added to the mix.


At this point - 2010, I decided to pack up and move to a new province. Nemesis needed to be kicked into high gear. It went up and down, started, didn't really stop and had a good selection of parts on it but needed to be able to drive on a car trailer on it own and survive the trip over the Rockies with nothing falling off and no snow or rain inside it.  All while packing up a house, doing renovations and the busiest period my business has ever had, the truck had to get assembled. Doors on, glass in, box kinda bolted on. hood on and fenders mounted - sorta. OK, tied on and bungied down but it worked. On to the hauler, chained up and across the mountains to the coast. Where it sat for 4yrs. In a storage unit. No garage, no yard and no time.


Finally, this year, 2016, time, space and enthusiasm all aligned and Nemesis is back on track. Some solid prep, gentle coaxing, selective English words and fresh gas and it roared to life. WHEW! Next, find all the hundreds of little parts in the dozen or so bins and start sorting out and try to remember where they all go. The air suspension plumbed in and wired up properly, trans tunnel built, cab finished and ready for carpet, and box leveled out - A true Canadian truck - Hockey pucks from Canadian Tire are the choice of spacers for cab mounts and box alike. If a hockey game breaks out at the next car show - I am covered. And the progress is continuing now - any free moment sees more progress, more parts bolted on and more like a running streatable hot rod each week.


Now if only I could figure out where these 2 brackets go. They do look important. Look great in the smooth powder coat..


Oh Well, those are just extra parts I guess. It should go faster without them right?

Continue reading

About

The photography & art work you see here is all unique, custom designed  by me - with an artist's pride & attention to detail.

Outstanding quality is my standard.

DMK is located in Canada. I ship to USA, Australia, New Zealand, Canada and the United Kingdom - DAILY! 

Questions? support@dirtymonkeykustoms.com

More links

  • Customer Reviews
  • About
  • Copyright
  • Privacy
  • Terms of Use
  • Contact

faq's

  • Custom Logo Design
  • Web Site Design
  • Sizing chart
  • Wash'n
  • Shipping
  • Payment / returns

POSTAGE:

I know, we all hate to pay for postage. My shipping rates to you are what I pay - simple.

HOW TO SAVE:
The cost to ship 1 shirt with tracking is the same to ship 2, 3 or 4.

With bulky/awkward sizes, shipping a hat or hoodie is a bit more, but add a shirt or 2 in the same package and it is still the same shipping cost.

NOTE: All Postal & Courier services have added fuel surcharges to their rates, so unfortunately - we all are paying more.

American Express Apple Pay Google Pay Mastercard PayPal Shop Pay Visa

© 2023 Dirty Monkey Kustoms USA GearHead Apparel. ALL artwork is protected by copyright and cannot in any way be copied, or used in whole, part or any derivative there of. Powered by Shopify

Products

View all